It is wise to protect your computer from various cyber security threats not only by installing trustworthy anti-malware and anti-virus applications, but by creating a recovery drive as well. In case your Windows 10 system experience fatal error and you are not able to boot it anymore, external recovery drive will come extremely handy.
To put it simply – if you can not run your Windows 10, all you have to do is to connect USB flash drive or external hard drive and run Windows from there. However, to be able to do that, first of all you will have to set up Windows 10 recovery drive. Here’s a step-by-step tutorial how to do it:
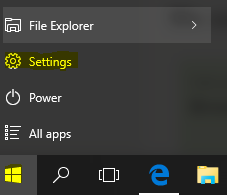
1. Open start menu and select ‘Settings’.
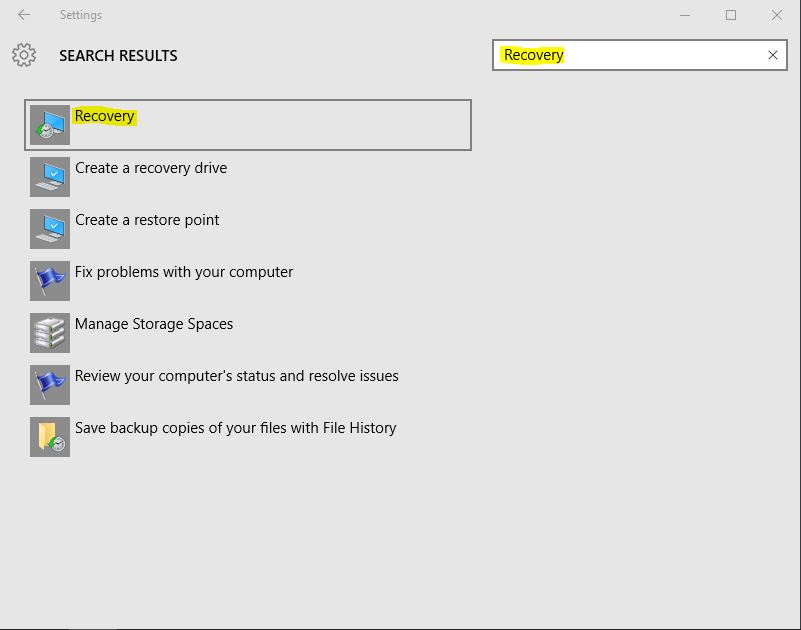
2, Search for recovery. On the settings window type ‘Recovery’ into search box and select Recovery icon.
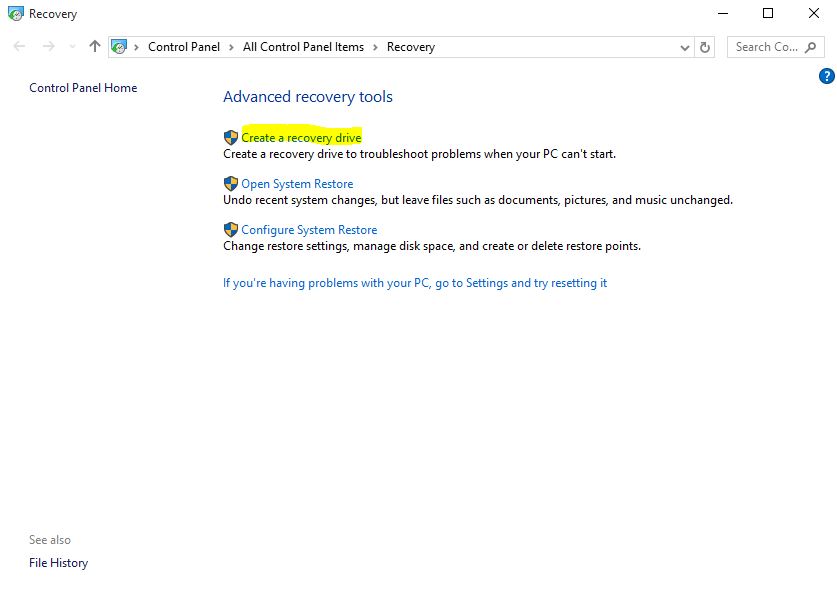
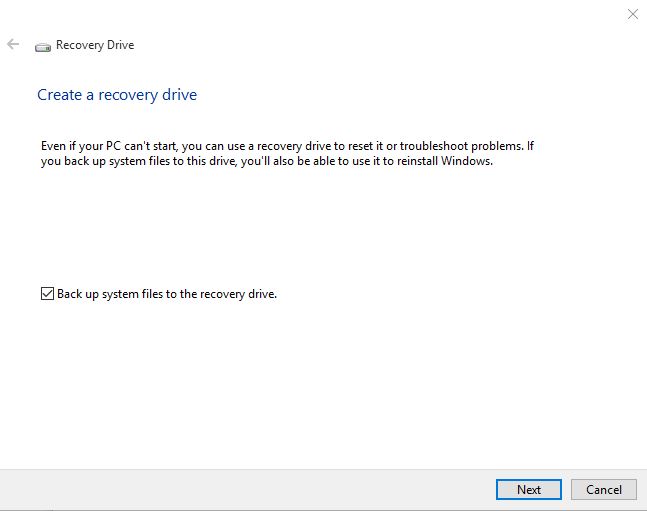
3. Select ‘create recovery drive’
4. Connect external drive and click ‘next’, then follow instructions.
That’s it, now you have your Windows 10 recovery drive. In case you need to use it, here’s how to do that:
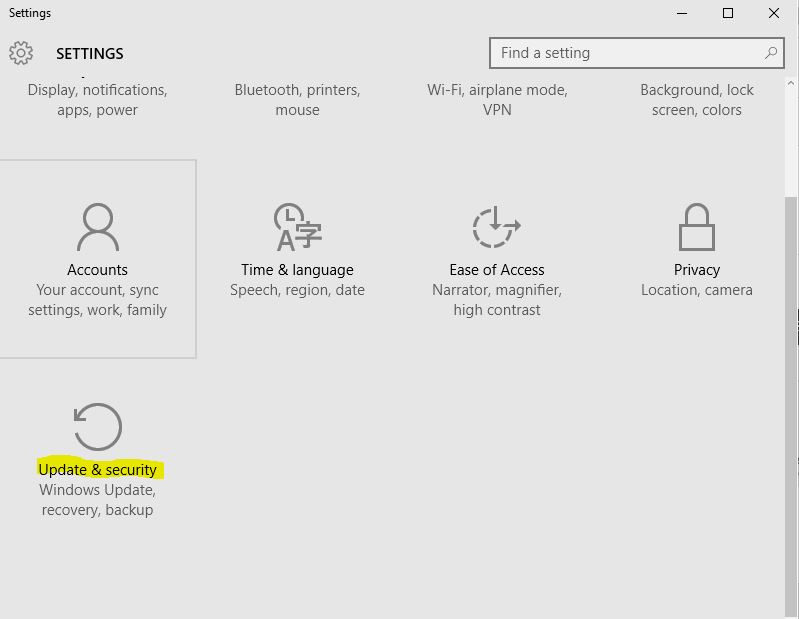
1. Access Settings Menu. Click start icon and select ‘settings’ option (see the picture below).
2. Select ‘Update and Security’ on settings menu.
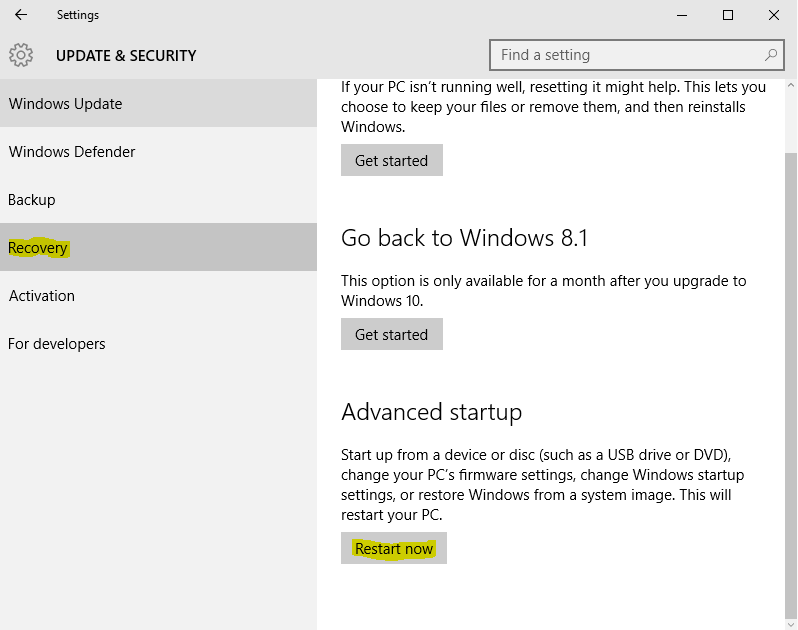
3. Restart your computer. On the following window select ‘Recovery’ tab and click ‘Restart Now’
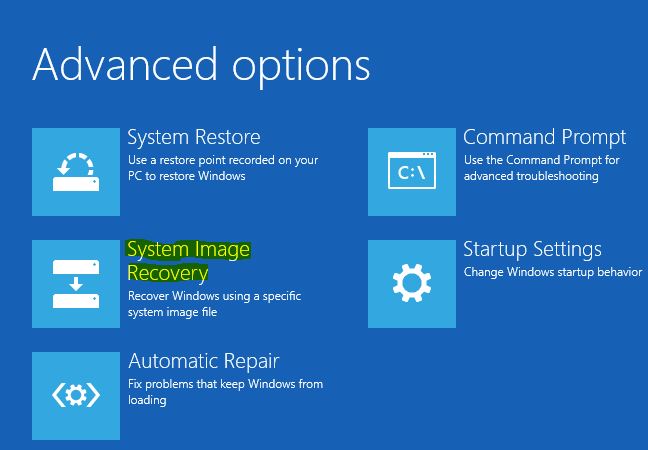
4. Connect your external drive and boot Windows. Plug in your external drive with Windows image on it to your computer and select ‘System Image Recovery’.