Visual Discovery malware was first noticed in 2015 and many people were displeased with this software. It was discovered that Lenovo sold computers with a SuperFish Visual Discovery adware parasite. It’s primarily focus was to serve online advertisements, and clients of Lenovo expressed criticism for the company’s behavior. Users and security researchers were shocked that the developing company allowed this suspicious program to be Pre-installed into their devices.
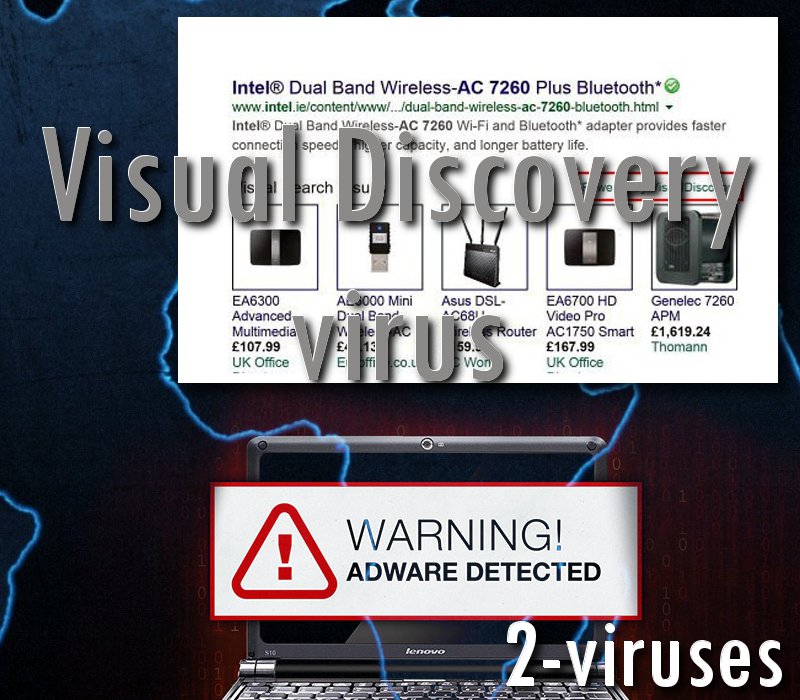
Visual Discovery virus was pre-installed into Lenovo computers
The program works as a browser add-on that can be added to all most popular web browsers, such as Mozilla Firefox, Google Chrome, Internet Explorer or even Safari. This means Apple users can get infected as well.Even though Visual Discovery is described as a useful and free application that will help you to save both your time and money when shopping online by providing you with various commercial links, coupons and deals, this description has nothing to do with the reality.
However, the fact that Visual Discovery adware is a program which is installed without users’ knowledge and consent is not the only disturbing feature. There are more worrying aspects about this software. It appears that the parasite prepares a self-generated root certificate into Windows certificate store. After that, all SLL certificates presented by HTTPS web pages are replaced with the one, belonging to creators of Visual Discovery virus (Lenovo Superfish controversy – what you need to know). Thanks to this switch, hackers are able to monitor users’ online activities and steal information which is used to log into various types of accounts.
We have actually written an article about the incident with Lenovo devices. Also, we have discussed the SuperFish adware, which is also the reason why Visual Discovery is activate in Lenovo computers. Naturally, the company had to answer to FTC and attorneys: this happens when companies disrespect their clients and compromise their safety.
As soon as people would purchase a Lenovo device with the pre-installed Visual Discovery virus, they should have been able to detect a bizarre tendency. Their browsers were supposed to be injected with a multitude of advertisements that seriously disturb the browsing experience.
Distribution Methods of Visual Discovery
Visual Discovery is traveling the same way as most of other adware applications – bundled with other free programs. I.e. when you download and install some freebie, there is a chance that Visual Discovery will be added to your computer without you even being aware of that.
To avoid this happening, pay a close attention to the installation process of freebies. Never skip any steps and always opt out for a custom or advanced install mode if possible. This way you will be able to see all available options and make changes. Look for various check boxes that can be already checked for you. Don’t rush because some of the most important information can be displayed in a very tiny font and you don’t want to overlook that. In case it’s too late and your computer is already infected, wait no more and take needed actions to eliminate this threat.
Of course, Visual Discovery virus was actually pre-installed into devices. Therefore, there was no way for people to prevent its arrival. This does not happen very frequently, but when it does, we hope that you will be able to catch the signs of an infection early on.
All those advertisements displayed by Visual Discovery are labeled with phrases “Ads by Visual Discovery” or “Brought to you by Visual Discovery”. So if you have noticed this occurrence on any of your web browsers, wait no more and take needed actions to eliminate this malicious application.
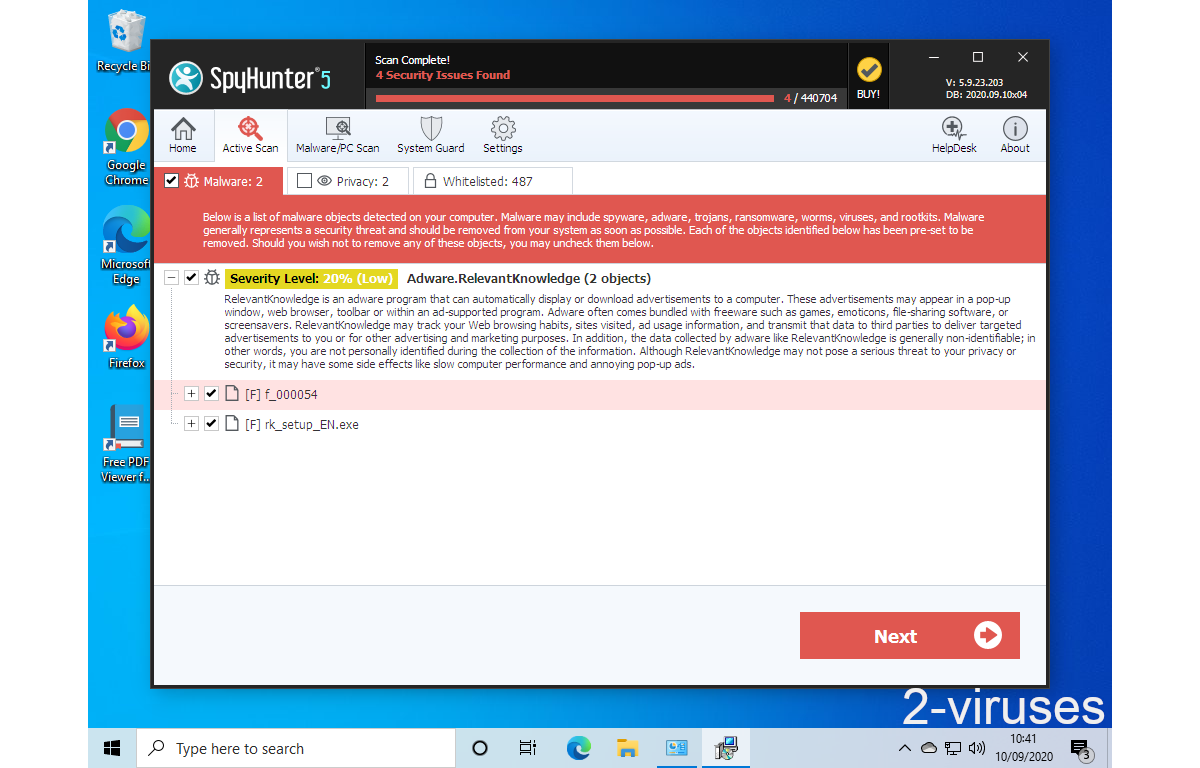
There are two most common ways to perform this – manually or automatically. It’s much easer to do this automatically, therefore we recommend to select this way. Download a reliable anti-malware application, such as Spyhunter or StopZilla and scan your computer with it. It will automatically detect and eliminate the virus just in a few seconds. If your computer is infected with some other malware, it will detect and remove the latter one as well. Of course you can use other anti-malware applications of your choice too.
Visual Discovery quicklinks
- Visual Discovery virus was pre-installed into Lenovo computers
- Distribution Methods of Visual Discovery
- Automatic Malware removal tools
- Manual removal of Visual Discovery
- How to remove Visual Discovery using Windows Control Panel
- How to remove Visual Discovery from macOS
Automatic Malware removal tools
(Win)
Note: Spyhunter trial provides detection of parasites and assists in their removal for free. limited trial available, Terms of use, Privacy Policy, Uninstall Instructions,
(Mac)
Note: Combo Cleaner trial provides detection of parasites and assists in their removal for free. limited trial available, Terms of use, Privacy Policy, Uninstall Instructions, Refund Policy ,
Manual removal of Visual Discovery
How to remove Visual Discovery using Windows Control Panel
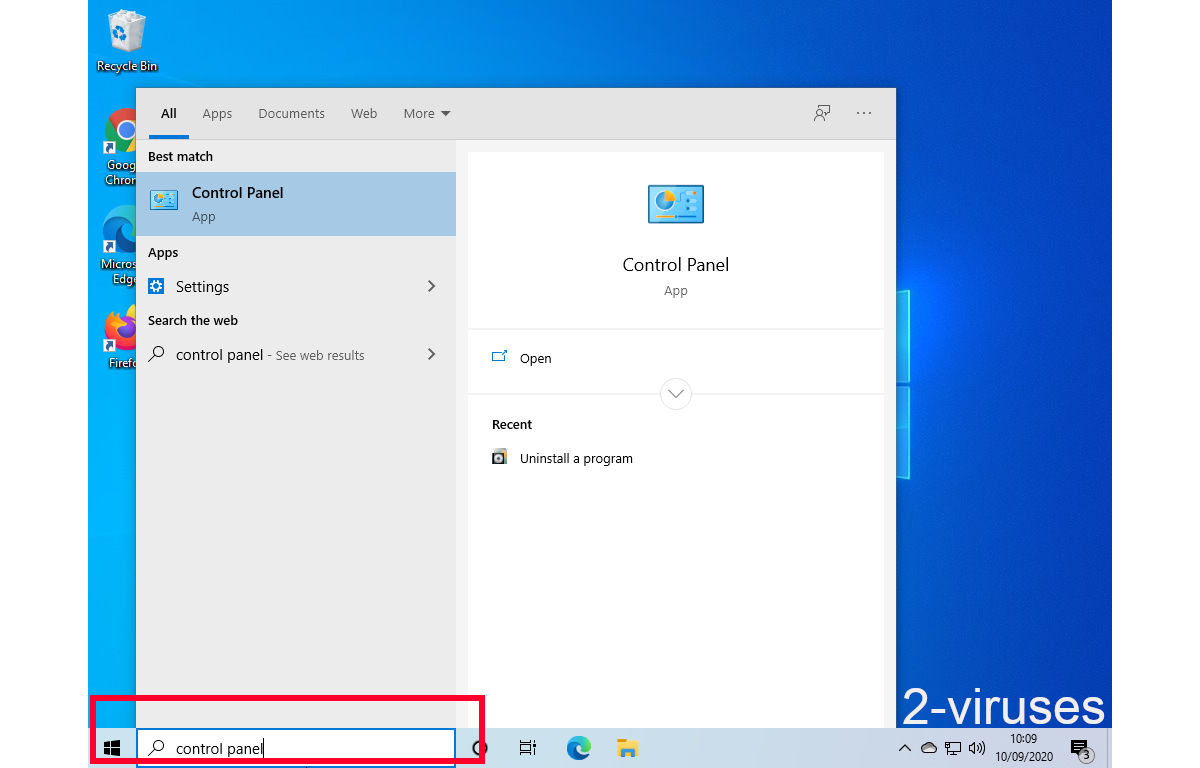
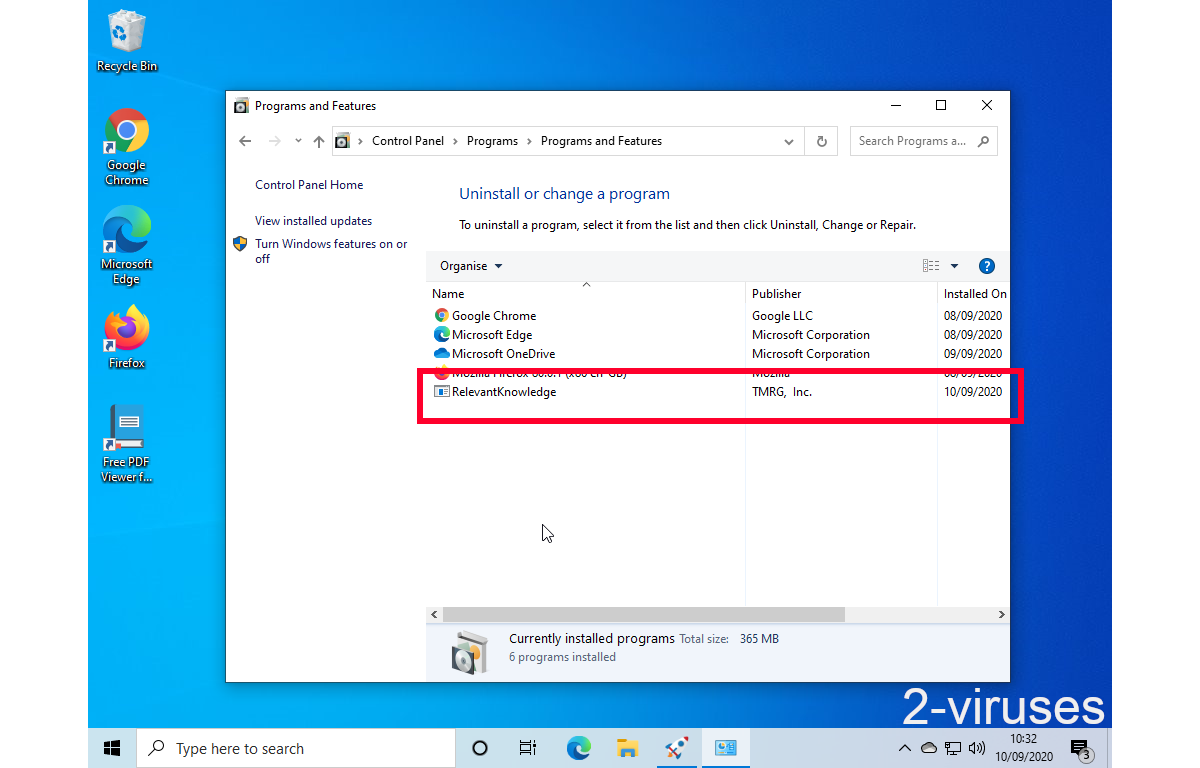
Many hijackers and adware like Visual Discovery install some of their components as regular Windows programs as well as additional software. This part of malware can be uninstalled from the Control Panel. To access it, do the following.- Start→Control Panel (older Windows) or press Windows Key→Search and enter Control Panel and then press Enter (Windows 8, Windows 10).

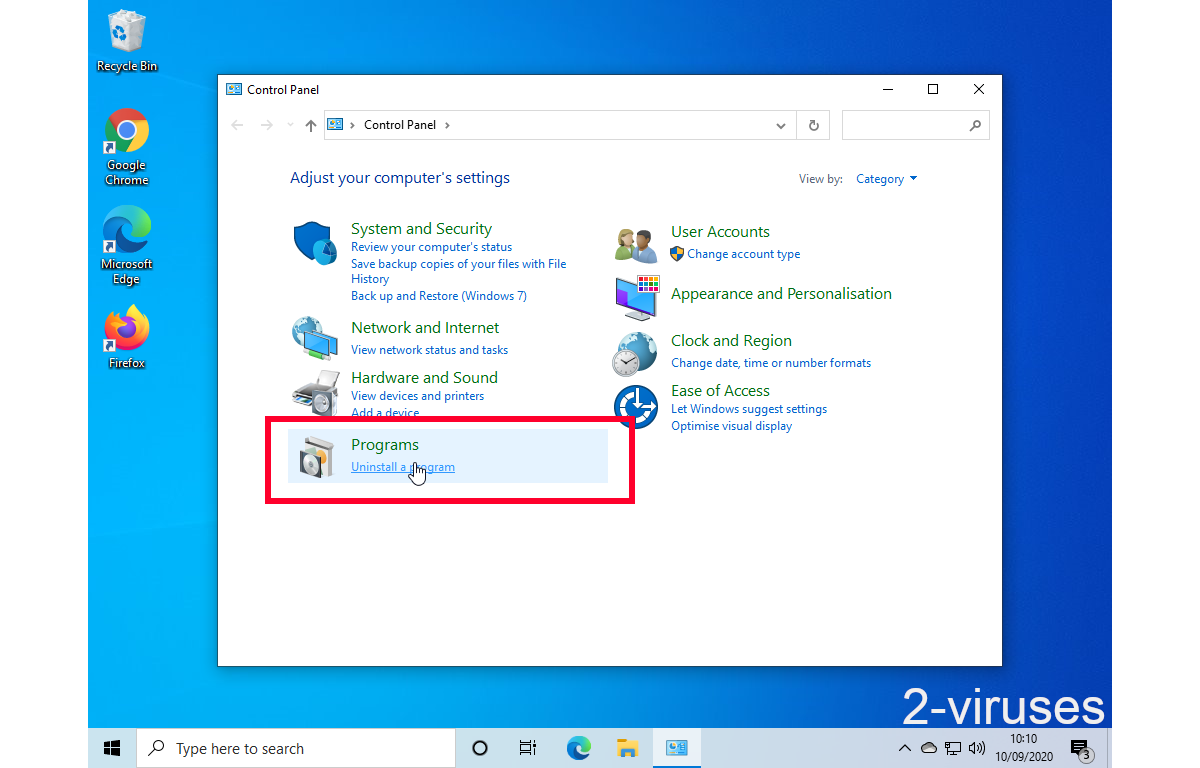
- Choose Uninstall Program (if you don't see it, click in the upper right next to "View by" and select Category).
- Go through the list of programs and select entries related to Visual Discovery . You can click on "Name" or "Installed On" to reorder your programs and make Visual Discovery easier to find.
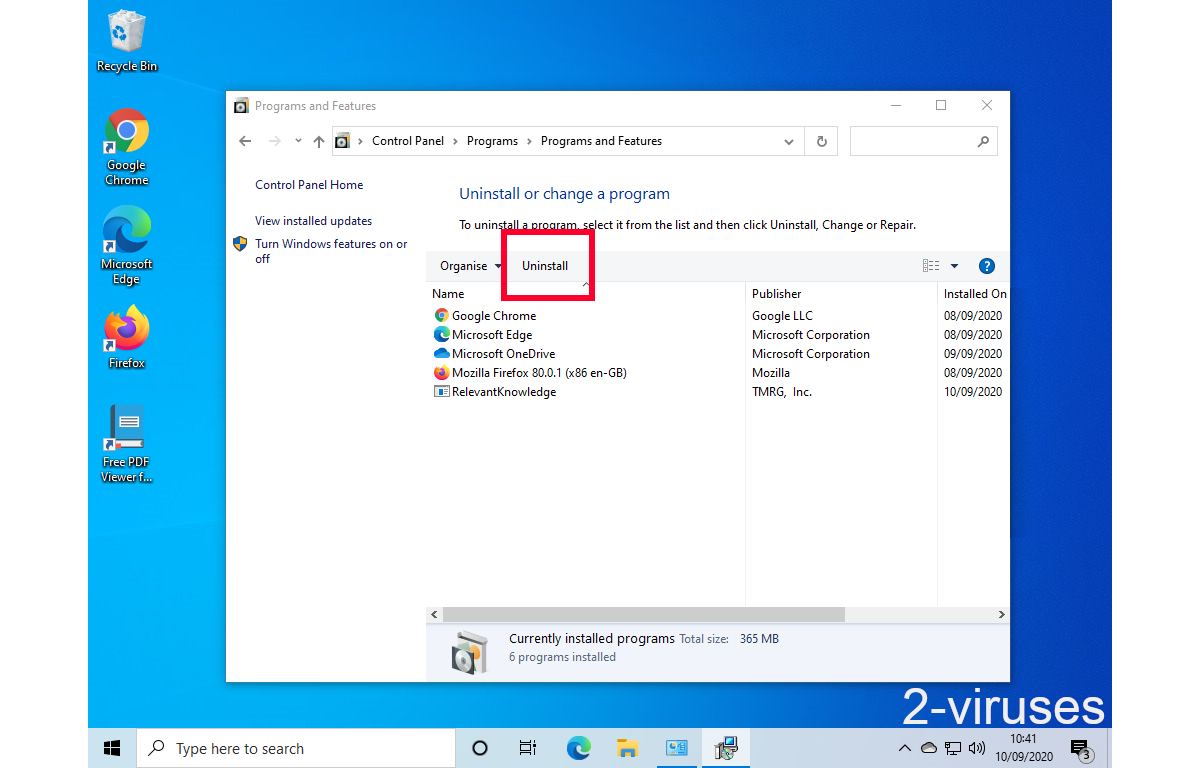
- Click the Uninstall button. If you're asked if you really want to remove the program, click Yes.
- In many cases anti-malware programs are better at detecting related parasites, thus I recommend installing Spyhunter to identify other programs that might be a part of this infection.
How to remove Visual Discovery from macOS
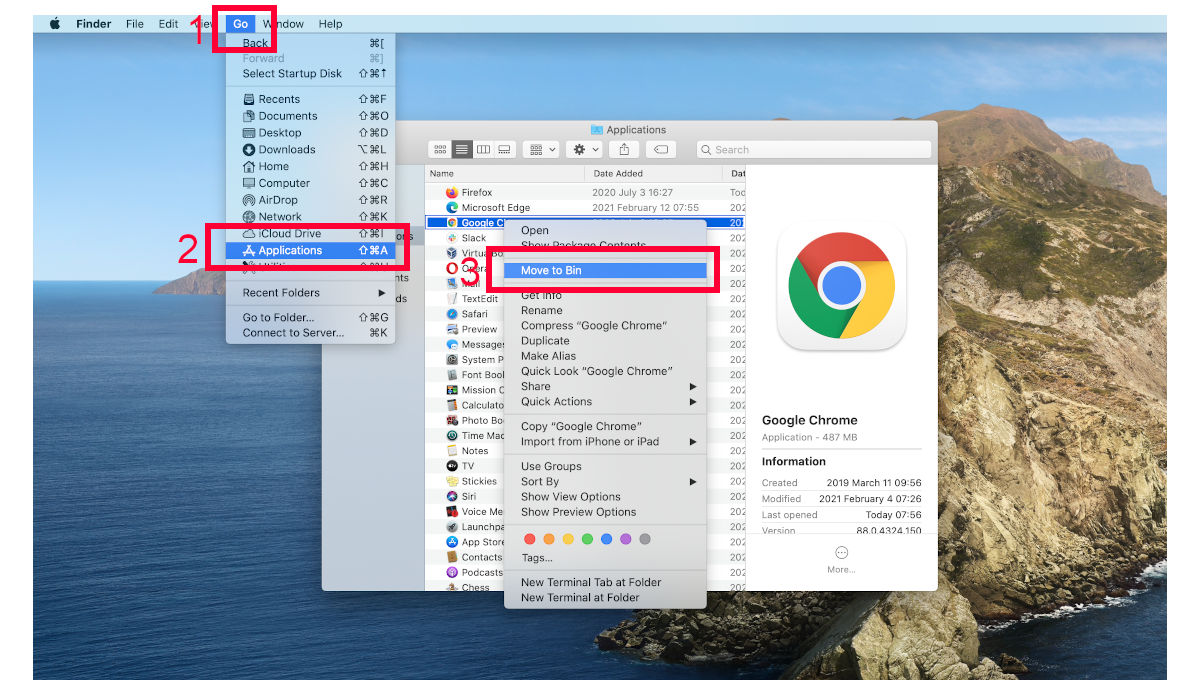
Delete Visual Discovery from your applications.- Open Finder.
- In the menu bar, click Go.
- Select Applications from the dropdown.
- Find the Visual Discovery app.
- Select it and right-click it (or hold the Ctrl and click the left mouse button).
- In the dropdown, click Move to Bin/Trash. You might be asked to provide your login password.
TopRemove malicious extensions from Internet Explorer
- Press on the Gear icon→Manage Add-ons.
- Go through Toolbars and extensions. Remove everything related to Visual Discovery and items you do not know that are made not by Google, Microsoft, Yahoo, Oracle or Adobe.
- Close the Options.


(Optional) Reset your browser’s settings
If you are still experiencing any issues related to Visual Discovery, reset the settings of your browser to its default settings.
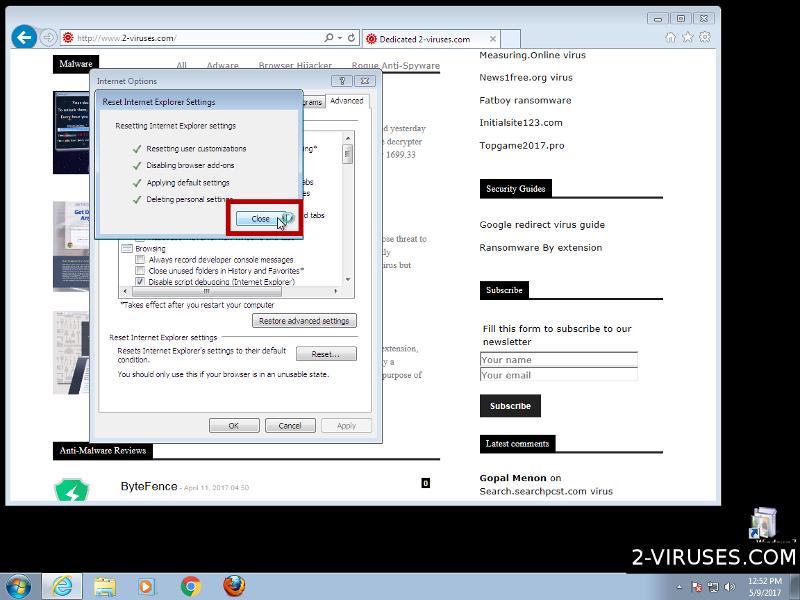
- Press on the Gear icon->Internet Options.
- Choose the Advanced tab and click on the Reset button.
- Select a “Delete personal settings” checkbox and click on the Reset button.
- Click on the Close button on the confirmation box, then close your browser.


If you cannot reset your browser settings and the problem persists, scan your system with an anti-malware program.
TopRemoving Visual Discovery from Chrome
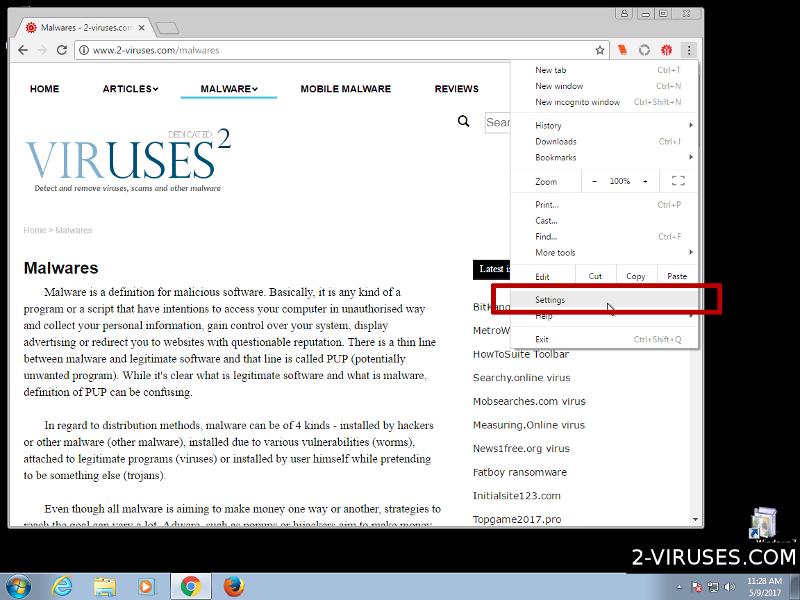
- Click on the menu button on the top right corner of a Google Chrome window. Select “Settings”.
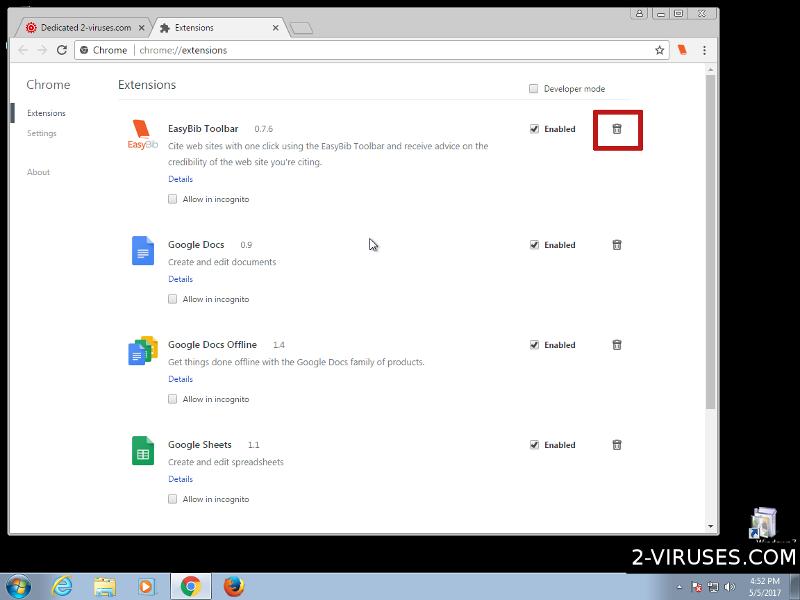
- Click “Extensions” on the left menu bar.
- Go through the extensions list and remove programs you do not need, especially similar to Visual Discovery. Click on the trash bin icon next to Visual Discovery or other add-ons you want to remove.
- Press on the “Remove” button on the Confirmation window.
- If unsure, you can disable them temporarily.
- Restart Chrome.


(Optional) Reset your browser’s settings
If you are still experiencing any issues related to Visual Discovery, reset the settings of your browser to its default settings.
- Click on Chrome’s menu button (three horizontal lines) and select Settings.
- Scroll to the end of the page and click on the Reset settings button.
- Click on the Reset button on the confirmation box.


If you cannot reset your browser settings and the problem persists, scan your system with an anti-malware program.
TopRemoving Visual Discovery from Firefox
- Click on the menu button on the top right corner of a Mozilla window and select the “Add-ons” icon (or press Ctrl+Shift+A on your keyboard).
- Go through Extensions and Addons list, remove everything Visual Discovery related and items you do not recognise. If you do not know the extension and it is not made by Mozilla, Google, Microsoft, Oracle or Adobe then you probably do not need it.


- Click on the menu button on the top right corner of a Mozilla Firefox window. Click on the Help button.
- Choose Troubleshooting Information on the Help menu.
- Click on the Reset Firefox button.
- Click on the Reset Firefox button on the confirmation box. Mozilla Firefox will close and change the settings to default.


How to remove Visual Discovery from Microsoft Edge:Top
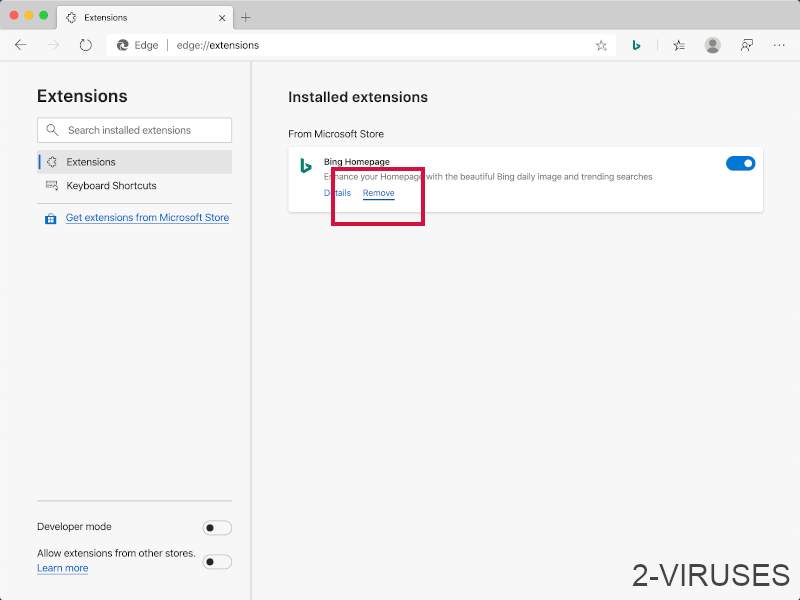
- Click on the menu button on the top right corner of a Microsoft Edge window. Select “Extensions”.
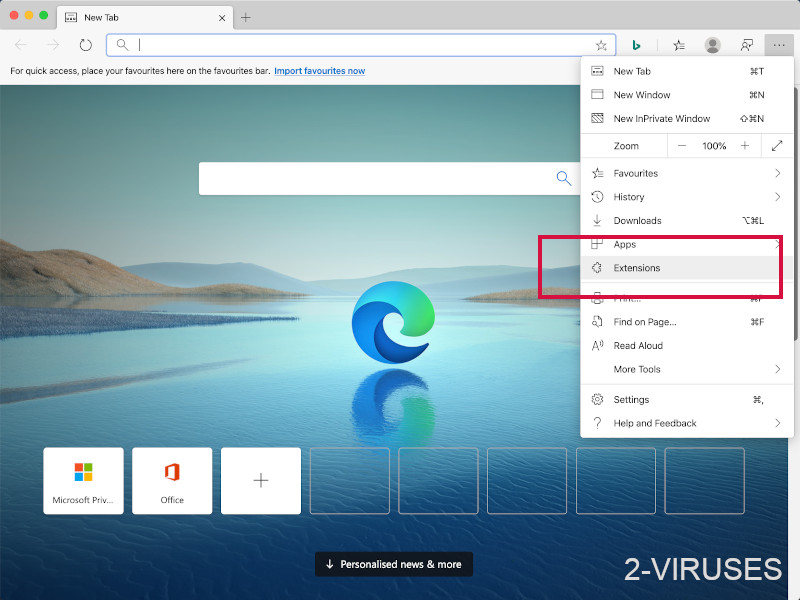
- Go through the extensions list and remove programs you do not need, especially similar to Visual Discovery. Click on the "Remove" icon next to Visual Discovery or other add-ons you want to remove.
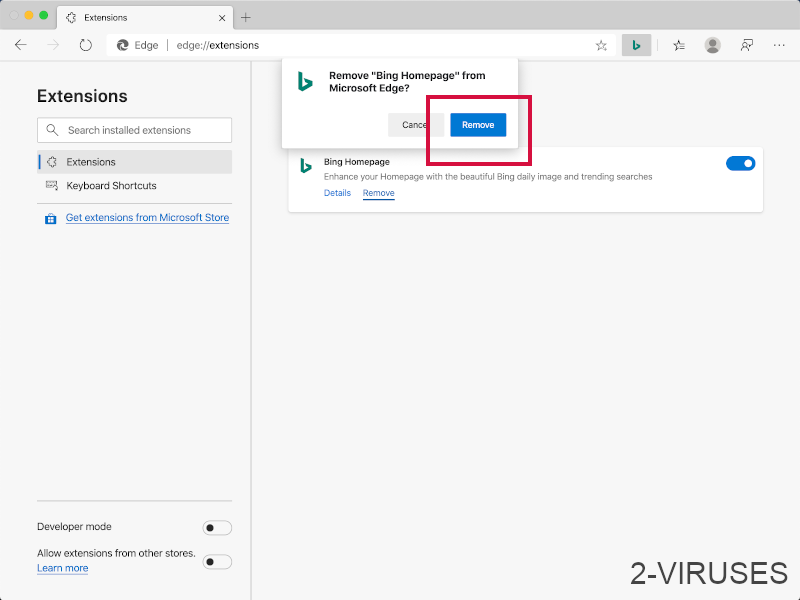
- Press on the “Remove” button on the Confirmation window.
- If unsure, you can disable them temporarily.
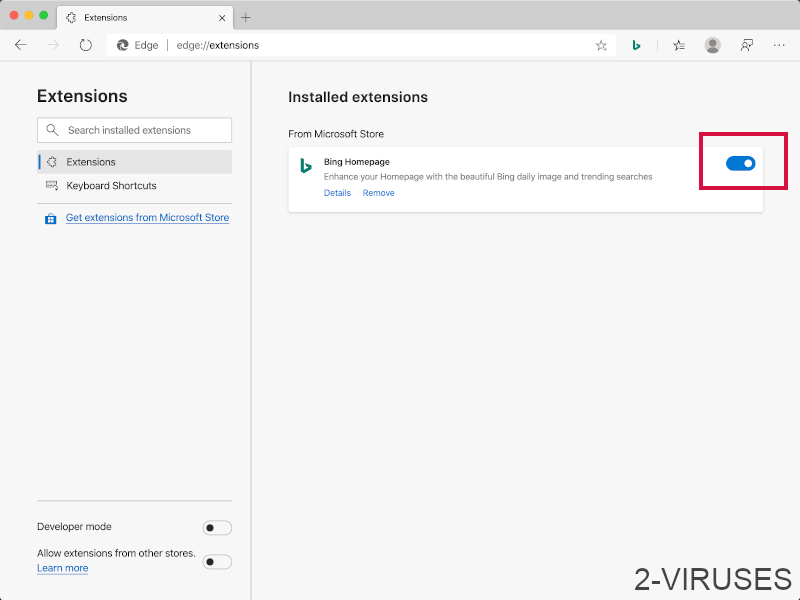
- Restart Microsoft Edge.
TopRemoving Visual Discovery from Safari (Mac OS X)
- Click on the Safari menu.
- Choose Preferences.
- Click on the Extensions Tab.
- Click on the Uninstall button near the Visual Discovery. Remove all other unknown or suspicious entries too. If you are not sure whether you need the extension or not, you can simply uncheck the Enable check-box to disable the extension temporarily.
- Restart Safari.


(Optional) Reset your browser’s settings
If you are still experiencing any issues related to Visual Discovery, reset the settings of your browser to its default settings.
- Click on the Safari menu on the top left corner of the screen. Select Reset Safari.
- Select which options you want to reset (usually all of them come preselected) and click on the Reset button.


If you cannot reset your browser settings and the problem persists, scan your system with an anti-malware program.